
Last week we started a DIY ( Palm kernel oil ) , we treated the first four steps and today we are going to be concluding it. How did the first four steps go guys? Am sure you all had fun and if you had trouble, please let me know in the comment section, I would be glad to help.

STEP 5
After separating the kernel from the shell, spread the kernel on a tray and sun dry for about an hour.

STEP 6
After it must have dried pour in a pot and leave on medium heat.

Stir fry till your spoon becomes oily, when it does,cover and reduce heat.

STEP 8
After some minutes, you would notice the oil will separate itself from the kernel by floating on top of it.
STEP 9
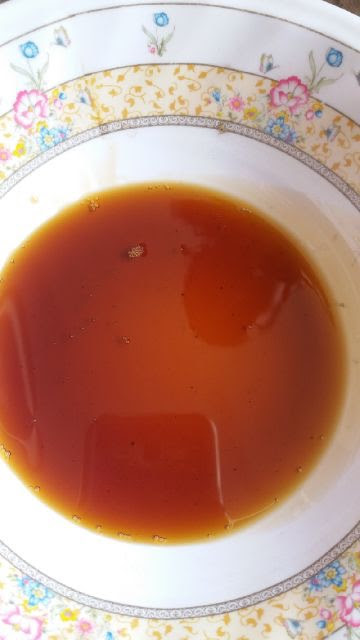
Scoop while hot into a ceramic bowl, leave to cool And your oil is ready for use.
NB :: I do not have pictures of all the steps cause I almost burnt the house down.
POINTERS
⁃ make sure you leave all doors and windows open cause of flames ( the mistake I made)
⁃ Check on the oil every other minute to make sure it's not burning
⁃ Make sure your Palm nuts are really dried, so as to make breaking easy
⁃ Scoop the oil while hot, the kernel might absorb the oil again.
⁃ Do not refrigerate.
⁃ The smell is everything.. * big grin*
Happy Valentine's Day guys! What are your plans? Who got engaged, married, introduced and who got dumped? And if you are single to stupor and just lazing around the house like me,why not try this DIY right now.


Please don't burn the house o!!!!!!
ReplyDeleteBerry Dakara Blog
Wow. Just like that? No crushing or blending like we do to get coconut oil?
ReplyDeleteYes.. No crushing! I learnt this method from an old igbo woman..
DeleteYours looks a lot like palm oil.
ReplyDeleteI thot kernel oil looked kind of dark.
It doesnt have to be dark,but you can acheive the black color by letting it burn..
DeleteOk.
DeleteBut I think yours is better.
Making it dark only reduces it good property.
Will try it out.
It is not meant to do done indoor cos of safety
ReplyDeleteIt is not meant to do done indoor cos of safety
ReplyDeleteIt should be done out door cos of safety
ReplyDelete